Make a template
This is super important and is referred to constantly while doing the project. After deciding on the length of the sword I created a full scale template on poster board. I printed off a few sword images and magnified images of the hilt so I could get this as accurate as possible. A really useful site is Fiber Glass Blades and I want to say a big thanks for sharing.Start Making Sawdust
The next step was to trace the sword onto 3/8 plywood and cut it out making a silhouette of the sword.The guard and pommel needs to be built up so I laminated some balsa wood to the required thickness and glued it to these areas. For the guard the thickness was determined by measuring 1/2 of the guard ball minus 3/16. The pommel thickness is 1/2 the knob width minus 3/16. To make the grip I laminated a dowel that was split in half minus 3/16 on each half.
The balsa wood was glued to the guard and cut to match the silhouette. Then the carving started. For the carving I used a saw, rasp, sandpaper and a razor knife. I tried chisels but the balsa is so soft it crushed. I could have sharpened them but the knife and paper worked pretty well.
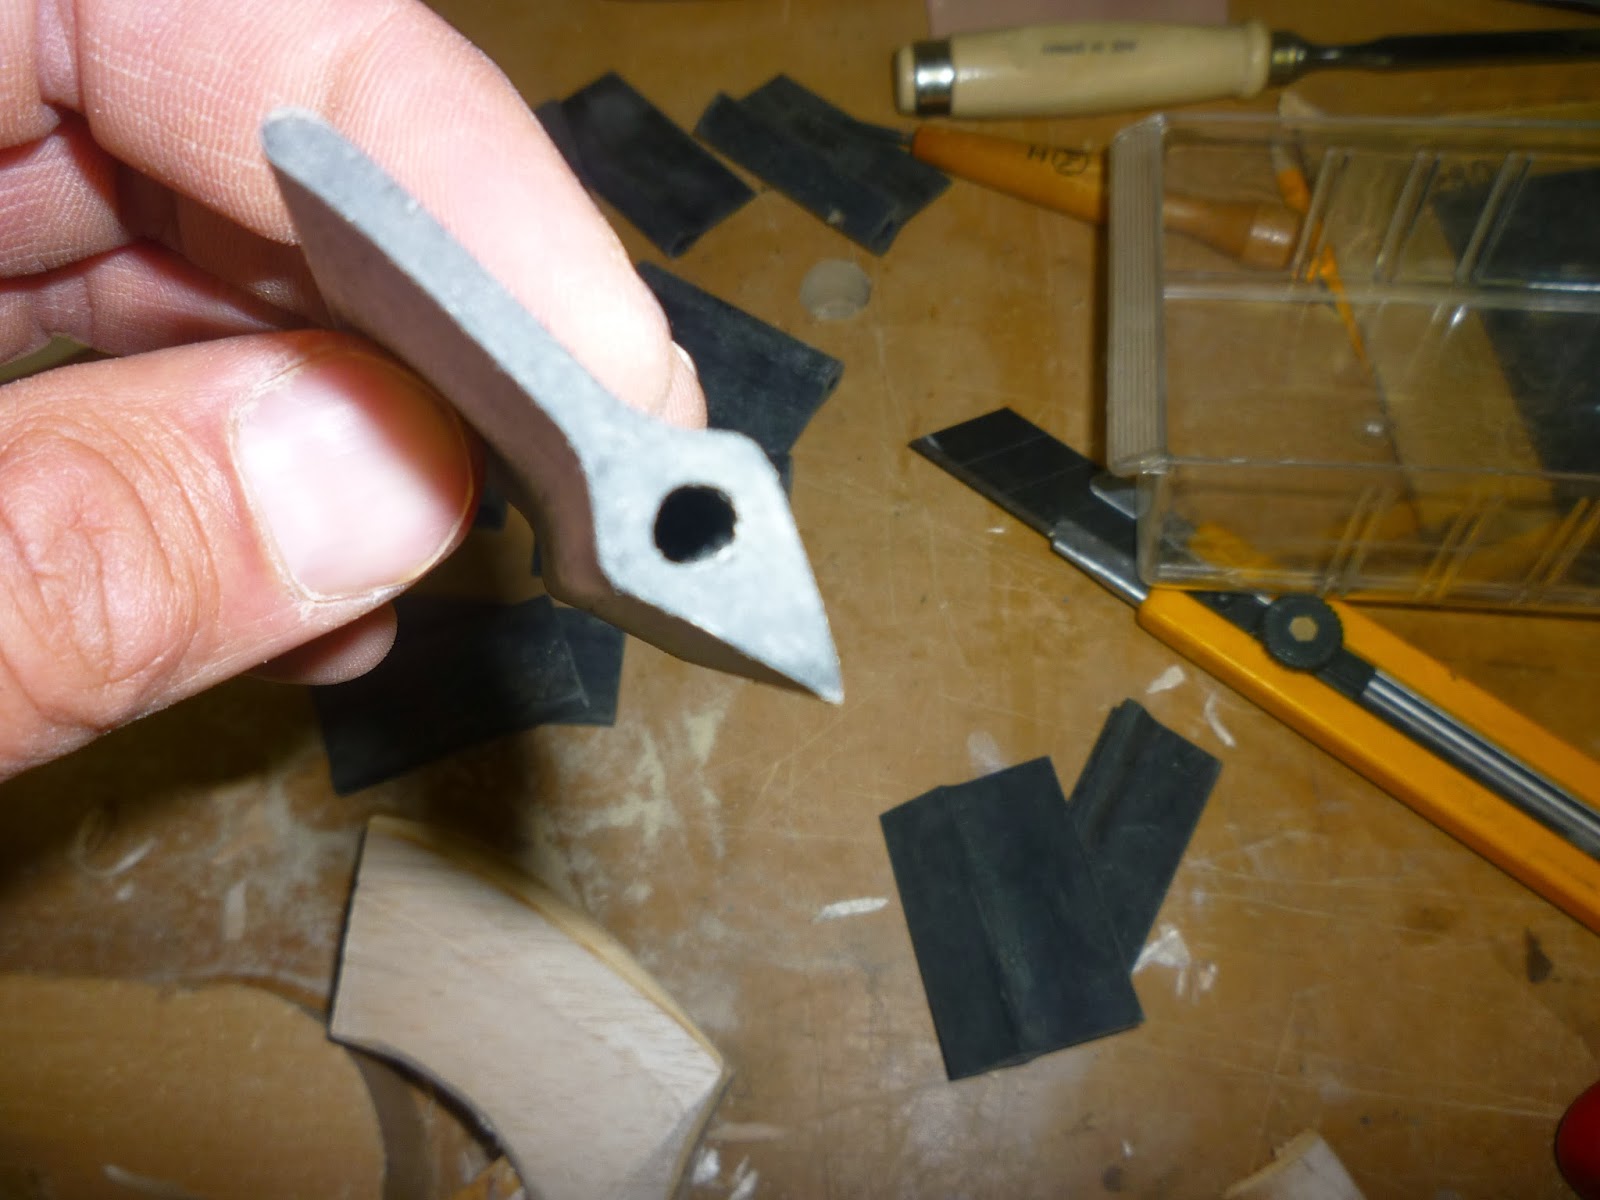
I happen to have some sanding profiles that turned out to be super helpful. The balsa is so soft that the cutting tools are almost to aggressive.
Once everything was carved out I realized that there were some mistakes so I busted out the wood filler to fix things up.
The filler is really easy to work with and sands nice making it possible to get a nice smooth finish. I built up a couple layers over a few days. Notice that the raised band around the bottom of the guard is missing.
Fiberglass Fun
When using fiberglass resin always wear a VOC mask. I started off by coating the entire sword in fiber glass resin with matting on both sides of the blade. There is no matting on the hilt or handle. Notice the bottom of the hilt ball has a lip. This was built up with bondo just before the first coat of resin was added.
After using some less expensive resin I tried a better quality Proform resin from a body shop supplier and it made a big difference. Once the initial coat of resin had dried I added a couple more coats (sanding between each) to the whole sword. This filled up some of the inconsistencies and gave me a better finish. From this point it was a mostly sanding. So, I sanded a bunch. The sanding profiles shown above where a huge help.
I did add some groves to the handle at this stage. These where simply marked with pencil and sawed in with a Japanese style hand saw.
Once the sanding was done I used a primer and fast drying spray paints. First I coated the whole sword in silver, then I mask off and painted the blue and yellow.


No comments:
Post a Comment